Building your own electric bike is an incredibly rewarding experience that will allow you to craft a ride that’s uniquely yours. This guide will take you step by step through how to convert a bike, with detail on each part and why certain parts work together. We take you from picking the right base components and tools to how everything goes together, all the way through final adjustments, so that your dream e-bike is a boss machine you can be proud of.
1. Start with the right bike (The foundation!)
The first key element of a great DIY e-bike is picking the right base: the existing bicycle. What bike you choose and whether it will work with this project is going to be the difference between how easy or hard the project goes together, as well as how safe and well the bike runs when complete. A bad choice here and you’re in for years of frustration; make a good one and your build will be plain sailing. Consider these factors well before you buy your conversion kit.
-
Frame Material and Durability
The frame needs to be able to stand the extra weight and torque of the motor and battery.
- Steel - Recommended for its high strength, durability, and its vibration-dampening properties. It is also easier to manipulate if there are any changes required.
- Aluminum - Light and exceptionally common, but look for a quality frame with strong welds—most notably at the dropouts and bottom bracket.
- Carbon Fiber - Not advisable for DIY conversions as the frame is prone to be crushed when clamping parts and cannot handle motor torque without specific reinforcement.
-
Brake System
When upgrading from a standard bike to an electric bike, you’re going to be traveling at higher speeds and there will be more mass associated with that, so braking is especially important.
- Disc Brakes - HIGHLY PREFERRED, and preferably hydraulic for awesome stopping power regardless of weather. Mechanical disc brakes are a decent next best option.
- Rim Brakes (V-Brakes) - Good enough for lower-powered builds, but can have trouble with heat dissipation and wet weather use.
-
Drivetrain and Gears
The current drivetrain should be of decent quality. For mid-drive motor applications, a threaded bottom bracket will be best. For hub motors, just make sure the spacing of the frame’s rear dropout is the same as that of the axle on the motor.
-
Money-Saving Tip
A good used mountain bike or hybrid model (not too old and from a non-shady seller) made by a credible brand is frequently the perfect candidate. It comes with a solid frame and decent, albeit basic, components at half or less of the price of a new bike.
2. Selecting the Conversion Kit: The Soul of Your E-Bike
The second consideration is selecting the soul of your new electric bike: the conversion kit. This is where you pick the power, range, and ride feel of your creation. There are plenty of choices available on the market, though most fit into one of two motor formats and different battery arrangements. It’s important to know the differences between the two, as a customized bike can save you effort on your commute or riding the trails for enjoyment.
-
Choosing Which Kind of Motor: Hub vs. Mid-Drive
- Hub Motors: These are part of the front or rear wheel hub. They are generally easier and cheaper to install. Rear hub motors give better traction, and front hub motors are easiest to install but can affect steering feel. They are also good for flat-terrain commuting.
- Mid-Drive Motors: These are mounted at the bicycle’s bottom bracket; they drive the crank. This puts the center of gravity down lower and allows the bike to use the existing gears for better efficiency and climbing. They provide a more natural pedaling experience but are a hassle to install and usually cost more.
-
The Battery and the Controller
The battery is the fuel tank; your controller is the brain.
- Voltage (V): Higher voltage (48V, 52V, etc.) is mostly going to translate to more power and higher speed.
- Amp-Hours (Ah): This measures your range. The more Ah provides you with a longer running time.
- Watt-Hours (Wh): A combined calculation based on V x Ah, this is the most accurate way to reflect the total energy capacity of a battery.
-
Brands of the Best Conversion Kits For Those Who Are Shopping
Good Brands. You would do well with any of the following if you are shopping around for a solid product. Some to consider that are tried and tested and supported by the community are:
- Bafang – well-known for their strong, powerful mid-drive kits such as the BBSHD.
- Tongsheng – offering an alternative to cadence sensing which rides very naturally with their TSDZ2 torque-sensing mid-drive.
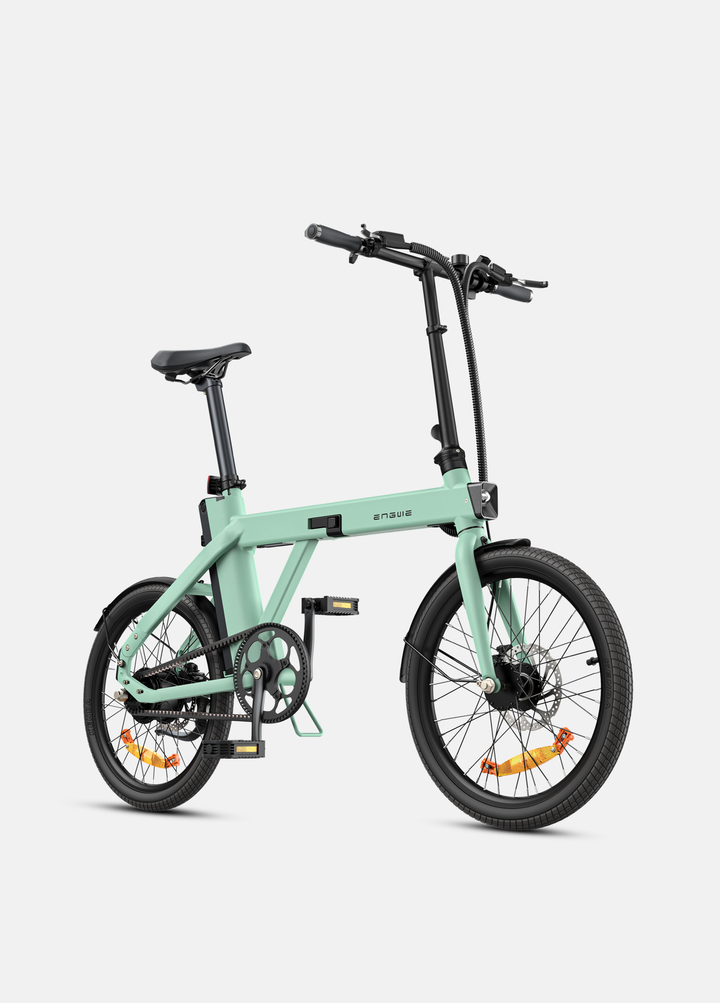
An Alternative: The Pre-Built ENGWE E-Bike

Although the DIY route is satisfying, getting pro-quality performance, safety, and smart integration can be tough. For those who value a fully integrated, top-shelf ride on day one, an electric bike built from the ground up is the way to go. It's in this field that ENGWE shines through and stands as the prime answer to e-bike riding needs: a selection of finely crafted e-bikes which are powerful, elegant, and affordable. Their highest offering, the ENGWE Engine Pro 3.0 Boost, is the example of what a modern e-bike can be. With its powerful and intuitive use of a 90Nm boost motor on up the hills, perfected by an ultra-responsive torque sensor—it’s delivered through your finest bike shop to make you forget about what it was like going up that hill when you felt so tired! This folding full-suspension E-bike is for the best-in-class riders who demand nothing but the very best from their bike. An industry-leading long range of 130 km is powered by a high-capacity Samsung cell battery and can be fast-charged in only 2 hours, allowing you to time out worry-free adventures. Moreover, the intelligent ENGWE IoT module enables smart functions such as GPS tracking and keyless unlock, empowering these features at your fingertips through the ENGWE app. For the more particular rider, when you choose Engine Pro 3.0 Boost, you're not just buying an e-bike, but buying a perfectly combined high-performance dream ride.

| Feature | Spec |
|---|---|
| Model | ENGWE Engine Pro 3.0 Boost |
| Motor | 48V Hub Motor, Maximum torque: 90N.m |
| Battery | 48V 15Ah (720Wh), Samsung 21700 Cells |
| Max Range | 130 km (PAS 1) |
| Charger | 8A Fast Charger (2-Hour Charge Time; Around 4.5 hours with standard outlet, and 1.5 hours with charging station) |
| Sensor | Torque Sensor |
| Suspension | Full Suspension (Front Hydraulic & Rear) |
| Brakes | Hydraulic, Dual-Piston (180mm Front & Rear) |
| Tyres | 20” x 4.0″ Urban Hybrid with Anti-Puncture Layer |
| Smart Features | ENGWE IoT Module (GPS, 4G, Bluetooth), App Control |

3. Assembling Your E-Bike: The Hands-On Build
The fourth dimension is the actual construction in your hands. This is where everything clicks into place for your dream build. Patience and attention to small details are your friends here. Not properly following the installation process can result in a safety hazard or poor performance down the road. With proper planning, the right products, and precise instructions, you will be well on your way to a solid build.
Essential Tools Checklist
- A decent bicycle repair stand.
- Set of metric Allen wrenches (hex keys).
- Set of wrenches (including pedal and axle nut wrenches).
- Crank puller tool (required for mid-drive installs).
- Bottom Bracket tool (if changing out the old one).
- Wire strippers, cutters, and zip ties to tidy up your cables.
- Chain breaker tool.
Installation: Step-by-step instructions
- Preparation: Attach the donor bike to a repair stand. Take out the parts that will be replaced, for example, the wheel with a hub motor or crankset and bottom bracket with a mid-drive.
- Motor Mounting: Attach the hub/mid-drive motor in place as per the user manual. All bolts must be tightened to proper torque.
- Battery Mount: If you have a battery mount (usually on the downtube), bolt in the bracket using two or three bolts. Make sure it's really secure—check to see whether it wobbles.
- Adding Components: Install the display, throttle (if there is one), brake levers (with dual sensors), and PAS sensor.
- Cable Management: Both looks and safety depend on it. Run all cables neatly along the frame, preferably using zip-ties or cable guides. Make sure that none of the wires have an opportunity to get tangled with either the wheels, chain, or pedals and that your handlebars will move freely.
- Final Wiring: Wire everything to the main wiring harness. Make sure all the plugs are properly connected and seated completely before plugging in the battery.
4. Final Adjustments and Safety Checks
Last but not least, is the fifth dimension: it’s critical post-build fine-tuning, safety steps, and ongoing malware monitoring. Your bike might be set up, but it is not done until it’s got your personal feel to it and is checked out for safety. Your investment can also be protected and provide you with thousands of miles of fun, reliable use by performing routine maintenance on your custom electric bike.
Initial Setup and Fine-Tuning
- Controller Programming: Most kits may be programmed for customized settings such as power levels, speed limits, and even how quickly the throttle responds. Begin with conservative settings and adjust the preferences as you become more comfortable.
- Brake Bedding-In: New brake pads and rotors should be "bedded in". Be sure to find an open, safe area for a few hard stops from moderate speed to properly seat the pads.
- Gear shifting inspection: Make sure the rear derailleur is running through its full range when the new motor has been installed by pressing the shifter up or down.
PRE-RIDE SAFETY CHECKLIST (do before every ride)
- Check tire pressure.
- Check all the brakes - front and rear.
- Ensure that all axle nuts and key bolts are tightened.
- Make sure the battery is well fixed.
Ongoing Care Strategy
- Battery Care: To keep the battery working for a longer life, never leave it fully charged or empty for a long period of time. Keep it in a cool, dry place and always use the charger that comes with the product.
- Drivetrain Cleaning: A clean chain and gears are important for an e-bike. The drivetrain should have the grease and grime removed to prevent wear and tear.
- Routine Check-Ups: Routinely inspect all wiring connectors for corrosion and brake pads for signs of wear.

5. DIY E-Bike FAQs
What's the hardest thing to do for a first-time DIY'er?
The big hurdle is wire management and getting all of the parts to work together. The cable routing can be a bit problematic, neatly and safely keeping the cables in check, while ensuring that the motor, controller, and battery will all play together is a lesson in research before you buy.
Will a DIY build be cheaper than buying a pre-made e-bike?
A DIY build can be cheaper than a wave of more affordable pre-made e-bikes upfront, but the price tag often begins to swell as you factor in higher-quality parts. A higher-end pre-built e-bike like those from ENGWE—with well-integrated components, safety certifications (something a custom build won’t have), and warranty support—is likely to be a better value for many people versus the time-intensive process of building an e-bike that does not meet comparable quality and safety standards.
What’s better for hills: hub or mid-drive?
For hilly riding, a mid-drive is far superior. It leverages the bike's native gearing and allows the motor to run in its most efficient RPM range, adding torque and improving heat management on long, highly inclined routes.
Now lock and load, and design the electric ride of your dreams.