A flat tire on your fat tire electric bike may be overwhelming to think about handling due to the motor and the extra weight. But with the proper tools and a methodical approach, it’s something any rider can easily do. This guide will walk you through it all, from prep and removal to installation and pro tips so you can quickly get back on the trail — or to your local bike shop for professional assistance. Let's get your ebike back up and conquering that flat.
Preparation: Tools and Workspace
The key to changing a tire with zero stress is making sure you have the right tools, and that you are going to keep everything organized when starting. Working on a repair blindly while reaching for a wrench is beyond frustrating and potentially dangerous. Whether you’re tackling the task yourself or hiring a pro, by gathering all of your supplies beforehand we turn what could have been an ordeal into a straightforward and methodical process. Some prep work ahead of time will save you from spending so much precious time running around dealing with outside things!
Essential Tool Checklist
- Wrenches: The THICC series use 18mm or 19mm axle nuts. An adjustable wrench will do, but a box-end or socket of the right size is less likely to round off the nut and grips better.
- Tire Levers: Flats on fat tires can mean a stiff sidewall and the need for beefier levers. Invest in heavy-duty, strong plastic or metal-core levers that are made for fat/motorcycle tires.
- Air Pump: A floor pump that includes a pressure gauge is your best bet for home repairs. For quick run-down-the-street fixes, you’ll also want to invest in a high-volume hand pump or a portable electric pump.
- Replacement Tube or Patch Kit: You will, sooner or later, need a new tube, and it's frustrating to not have the right size when you need it most. A patch kit is a great idea as a backup in case of emergencies.
Setting Up Your Workspace and Bike
- Work in a Big, Bright Space: You don’t want dirt and other grime getting into your hub motor or bearings.
- Secure The Ebike: The best way is to use a bike repair stand. If you don't have one, you can tip the bike upside down and place it on the handlebars and seat. Cover your display screen and buttons with a soft cloth.
- Power Down: This is an important safety step. Switch the power of the ebike off and if you can, take out the battery (this minimizes any risk of motor engagement).
Wheel and Tire Removal
Taking off the wheel and old tire is especially tricky with the rear wheels housing a hub motor. The key is to be gentle with electronics and have a process. Rushing through this maneuver can result in damaged motor cables or a maddening fight with an obstinate tire bead. Be careful with the small bits, like washers and nuts—they go back on in a specific order/position.
Step-by-step to remove the rear wheel (hub motor)
- Unplug the motor cable: Find the motor cable connector (usually a water-resistant, multi-pin connection near the rear axle). Unscrew the collar gently and pull both ends apart to keep it straight. Do not twist them.
- Release the Brakes: If you have rim brakes, loosen them. With disc brakes, you may have to loosen the caliper bolts a hair if the wheel won’t come out easily, but this is usually not necessary.
- Loosen Axle Nuts: With the use of your wrench, unscrew and pull off the axle nuts from either side of the wheel. Take note of any special anti-rotation washers and their orientation.
- Raise the Wheel: Lift the chain off of the cog carefully and then slide the wheel upwards, out of the dropouts. It is easy to catch the motor cable.
Removal of Front Wheel and Unseating of Tire
- The front wheel is far more straightforward; usually you’d just have to loosen the axle nuts or a quick-release skewer.
- Remove the wheel from your bike and release all air pressure by pressing on the pin in the valve stem.
- Push away the tire’s bead (the edge of the tire) from the rim on one side as much as you can, and then do so all around on both sides. This can be difficult; use the heel of your hand to break the seal.
- Slip a tire lever under the bead, using it to lift the bead over the rim wall, hooking it onto a spoke once you’ve got several inches pried off. Repeat this process around the wheel.

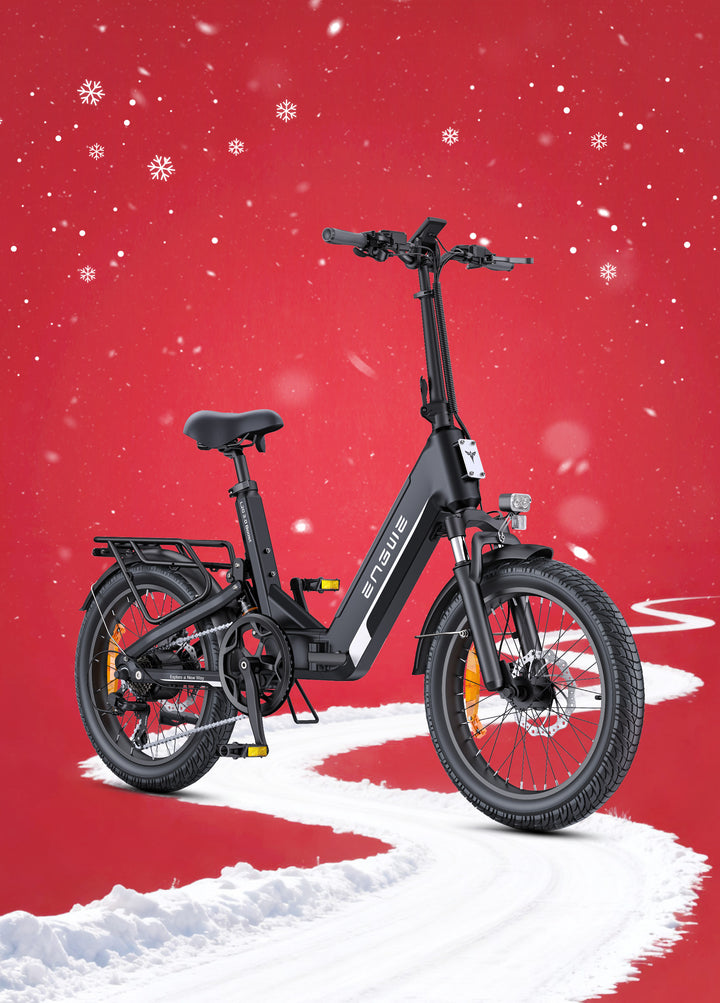
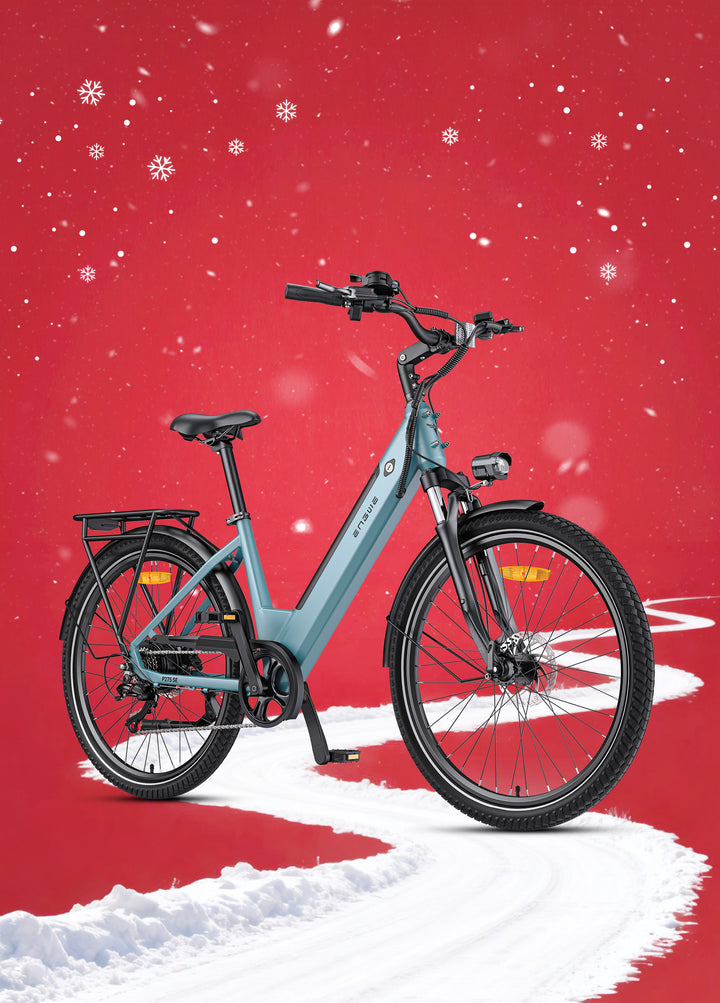
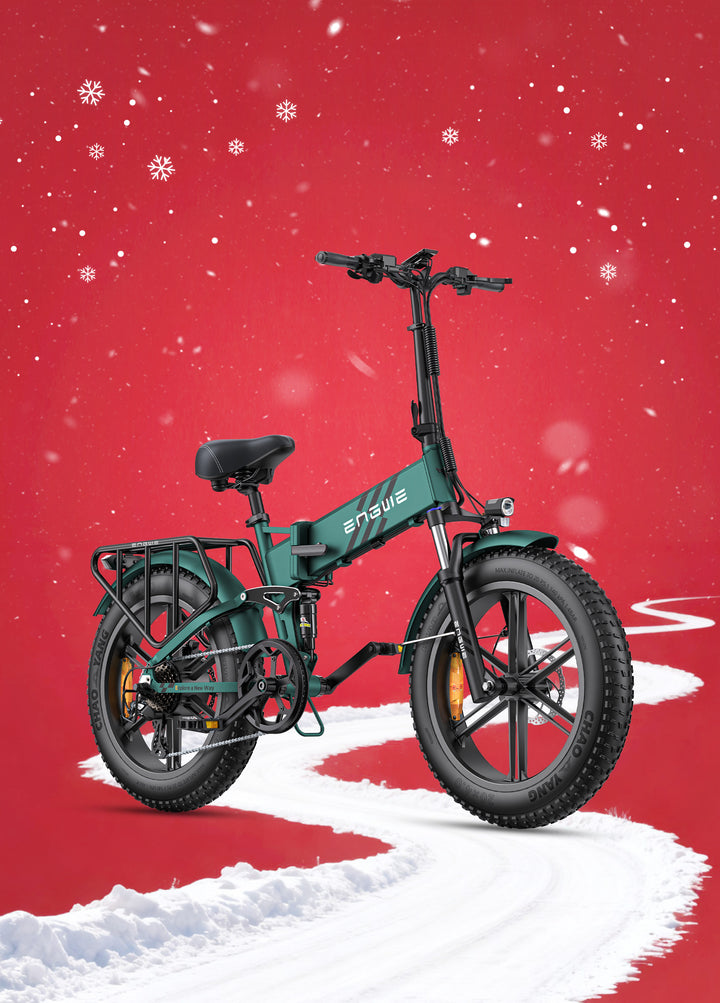
ENGWE Design and Accessories
When trying to find good, reliable parts/components for your electric bicycle, what ENGWE has done here is put design and build quality at the forefront. Their bikes like the ENGWE ENGINE PRO we’ve seen several times also use maintenance-friendly components in general, making a tire change much easier than one typical of regular bikes. Official accessories will keep the perfect fitment and performance of your ebikes. ENGWE aims to let the world's riders get an easy and happy life.
The ENGWE Design Advantage
At ENGWE, we feature a heart-stopping line of ebikes for sale designed to be comfortable and safe. With the axle and motors connected directly, wheel removal is less daunting for the average owner.
Necessary ENGWE Finds for Tire Repair

Official ENGWE Accessories: Click here to find a rich variety of accessories.
Buy Now- ENGWE Portable Electric Air Pump: A game changer for fat tires that need a lot of air. It saves your time and labor with efficient pumping while guaranteeing you can accurately set your tire pressure everywhere.
- ENGWE 16-in-1 Multifunction Bike Tool: A must-have, easy-to-use, custom multi-tool that features the various hex keys and sockets used by a wide range of eBike brands. This is a necessity for home or on the go!
- ENGWE Puncture-Resistant Fat Tires: A puncture-resistant tire is an upgrade you can purchase later on if the stock fat tires break through a patch of glass. This proactive measure saves you the frustration of spending so much more time dealing with future flats and gives you a little extra peace of mind on your rides.
Why You Need Official Parts?
- 100% Brand new and high quality.
- Made of high-quality materials, durable, wear-resistant and easy to install.
- Applicable: for ENGWE ebike.
- Suitable for: the original bike with Kenda tires; it cannot be used if replaced with other tire brands.
Official ENGWE Accessories: Please search “ENGWE official store accessories” on Amazon to find more high quality accessories.
Inspection and Installation
Now that the old tire is off, we move on to the inspection and methodical installation of a new tube and tire. This isn't simply the opposite of disassembly; it's a chance to inspect for the root cause and stop flats before they occur. When mounting, the most frequent cause of this is a pinch flat - where the tube gets caught between the tire and rim. Patience and a close eye here are key to a successful, long-lasting fix.
Pre-Installation Inspection
- Inspect the Rim: Use your finger to feel and check the inside of the rim for sharp pieces of metal that stick out or damage that could puncture the new tube.
- Check the Rim Strip: Make sure the rim strip (a band of rubber or cloth that covers the spoke nipples) is centered and free of defects. If it's damaged or frayed, replace it.
- Investigate Old Tire: Don't fail to check the inner and outer portions of your used tire for what took you out (a thorn, nail or glass shard). Taking it out will keep your new tube from being punctured.
Installation Steps
- Seat One Bead of the Tire: Slide one bead of the new tire over the rim all the way around.
- Partially Inflate the Tube: Blow a little air into the new tube to give it some shape. This helps to keep it from twisting or being pinched during installation.
- Install the Tube: Insert the valve stem of your new tube into the hole in the rim. Tuck the tube into the tire, working your way around the wheel, keeping one side of the tire on the rim with the tube inside.
- Install Second Bead: From the valve, push the remaining tire bead onto the edge of the rim using your thumbs. This will get progressively harder. At the last section, press in on your valve stem into the tire to give you some additional slack. Avoid tire levers if possible to prevent the tube from being pinched.

Pro Tips and FAQs
Even with the perfect guide, you can still run into problems. Understanding the traps in advance and having some pro tips can be the difference between a smooth repair and a tough struggle. This information includes everything from how to deal with a crusty tire to making sure your e-bike is able and safe to ride after the repair. A secret to saving yourself time and money is getting it right the first time.
Pro Tips for a Smooth Process
- Don’t Pinch Flat: This is the top rookie error. When inflating, put a little bit of air in (~5 psi) and pay attention to both sides of the tire to make sure the tube is not under the lip of the bead. You should see a nice uniform molding line on the tire just above the rim.
- Working With a Tight Tire: If one side of the new tire is almost impossible to get onto the rim, try putting a little soapy water on the bead and rim, which can act as a lubricant and help with installation.
- Proper Motor Cable Reconnection: When re-installing the rear wheel, make sure the arrows on the motor cable connector are lined up exactly with each other before pushing them together. Never force the connection.
- Tighten Torque: The axle nuts should not be too tight. Overtightening can destroy the hub motor bearings or dropouts on the frame. They should be pretty tight and secure, but you don’t have to try too hard.
Recommended fat tire pressure guide
The importance of tire pressure cannot be overstated: It is the make-or-break aspect of both performance and avoiding flats.
| Type Of Terrain | Recommended PSI (Fat Tire) |
|---|---|
| Paved Roads | 20-25 PSI |
| Hardpack | 15-20 PSI |
| Sand or Snow | 5-10 PSI |
| Note: Max pressure is typically listed on the tire sidewall. | |
What if I can’t get the tire bead to “seat” evenly?
Release the air from the tire, apply soapy water to the beads and rim, and then give it a quick blast of air. Adjusting the pressure may help the bead snap into place. Sometimes you need to inflate to a really high pressure (I've used up to 30 psi) and then let it deflate down to your riding pressure.
Is it more of a pain to fix the back tire on an ebike?
Yes, slightly. The one extra step is carefully disconnecting and then reconnecting the hub motor cable. Take care with this connector as these gold pins can be easily damaged.
Is it okay to use a regular bike patch kit on a fat tire tube?
Absolutely. A patch is a patch. Just be sure that the area around the puncture on the tube is clean and dry, and you're good to go with a strong, durable seal.
Now you are prepared for any flat tire disaster.